CLARE HEDGES
MOULD MAKING


Line drawn through the center of the whole sculpt from one side to the other.
I initially found building the clay wall quite difficult as I had not done it before and was not sure of the best way to do it. I rolled out the clay and then cut the pieces and slowly built the wall around the sculpt. I found the ears particuarly difficult as they are a bit of a tricky shape. I also reinforced the back of the wall with lumps of clay.
Once the wall was built, I smoothed out the wall to make it neat and made a sharp edge around it. I then put pry points in between the keys. I initially put keys as squares rather than trapezoidal befpore realising that if they are a square shape, the mould will lock together.
I tried to make the clay wall as neat as possible and ensure that the wall was flush to the sculpt as this would hopefully mean that my seam would not be too bad and be easier to clean up .

I was working to a tight schedule for mould making and took longer than I had anticipated creating my mould wall for this piece.
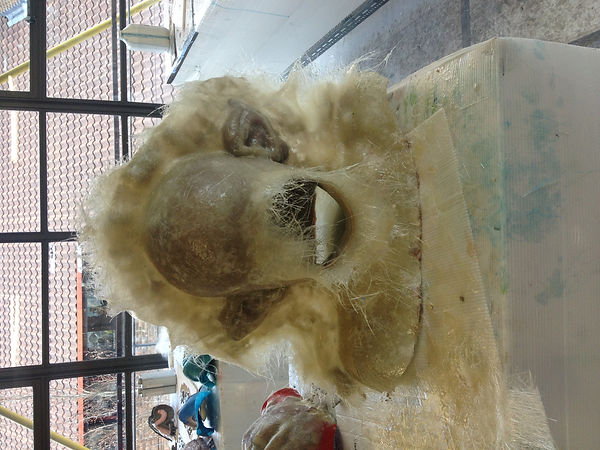
This meant that I was very short of time when it came to fiberglassing. I was attempting to fiberglass two sculpts (the front of this sculpt as well as my face sculpt) and I was rushing which was far from ideal as I should have taken time with the fiberglassing as this is so crucial to getting good pieces out of them.
From this picture I can see a big problem that I did not necessarily think of at the time - as I was rushing when fiberglassing, I was laying on large pieces of matting near the edges which were folding over. Next time, I would use smaller pieces of matting and make it much tighter, ensuring that no pieces were curving over. This curve made it difficult to fiberglass the other side flush to the other side. There were also air pockets in the ears. In future, I will allow plenty of time while fiberglassing
I do not have any pictures of the fiberglass of the face as I was in such a rush. I only did 1 layer of both the head piece and the face. As fiberglass is a rough surface, it will adhere to itself which meant that I could continue fiberglassing after the weekend.
Once I tried to demould my fiberglas face, I realised that I had made a big mistake while applying my mould release. For some reason, I did not mould release right to the edge of my core, this meant that in some areas, my core and my fiberglass mould had locked. It took about 7 chisels, a lot of time and a big mallet to get my mould apart.
My panic at my piece being locked together resulted in further mistakes. I was supposed to drill my holes in my piece before demoulding, however in my panic I demoulded it and was then unable to get my mould to get back to the same position. I drilled the piece at the point I thought was right however the next day, after I had cleaned all the clay out, the drill holes in the mould did not allign with the core. I then had to cover the holes with tape and fill them with car body filler. I then re-drilled the holes in the right place.


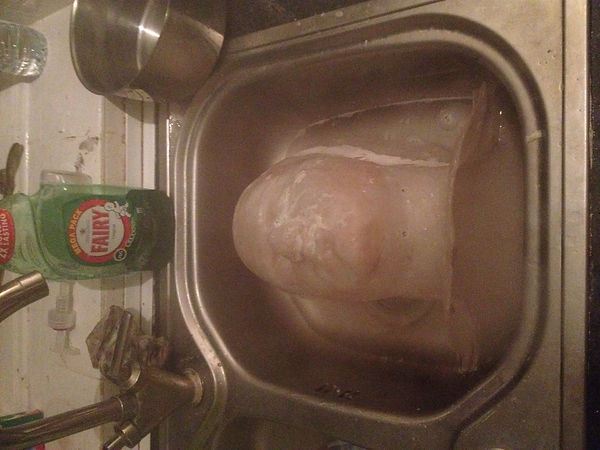
Yet another mistake I made, was cleaning my mould out with boiling water. I believe this warped my mould as I later had issues which I will explain later on.
Another lesson learnt: Do not use boiling water to clean fiberglass.
Remember to use polywax to get the little bits towards the end of cleaning up mould.


I then made yet another mistake - I drilled and car body filled the injection tube into one of the flashing holes rather than the injection hole. I could not remove the original tubing so instead had to fill that with car body filler and repeat the process, but in the correct place. This meant wasting a lot of time and was a good example of when rushing is actually detrimental and causes more mistakes and longer time.