CLARE HEDGES
MOULD MAKERS/ MOULD MAKING
Carl Lyon




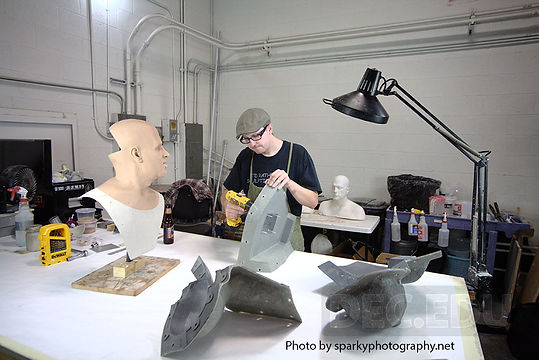

Carl Lyon is a Los Angeles based FX artist who works as a mould maker at Vincent Van Dyke Effects in Burbank, California. He studied at the Tom Savini School.
Carl Lyon is well known within the industry for his meticulous moulds, which is why I wanted to do some further research.

I found this great article written on Carl Lyons with some great quotes which I felt were honest and inspiring.
In the article, Carl explains how his sfx instructor Will Ritter, pushed him to make his mould work as clean as possible and make it the best it could be.
This is reflected in the beautiful moulds that Carl is renowned for creating.
'Make sure you keep ego out of things and the understanding that you will work your way up from the bottom. You will sweep floors and clean bathrooms far before you could ever think about making a mold or sculpt anthing. That is the reality of this business.' - Carl Lyon
As I am researching into the work of Carl Lyon, I felt it would be a good idea to contact him and see if he has any further advice. I also was finding it tricky to find much information on his background.
I am really inspired by his work and hope that I will get a response from him.
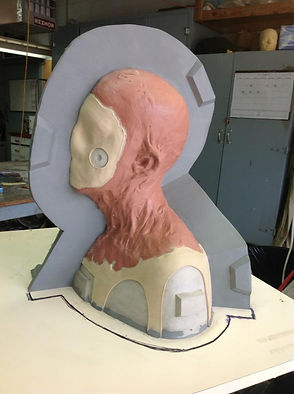
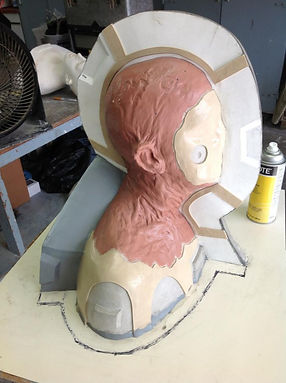
These are some examples of Carl Lyon's work - they show how incredibly clean his moulds are.
At first glance, I thought this was a two part mould however after looking further through the pictures, I realised that it was a 3 part mould.
Material used for negative surface: Epoxical 415 surface coat resin
This picture shows the third part to the mould - it is three parts to eliminate the undercut of the cutting edge that sits between the shoulder blades on the back.
Carl has sculpted the piece as a whole and then broken it down, ensuring that the pieces will fit together perfectly.
The nose has been sanded down as it is the biggest undercut on the face. There have also been some circular keys put in the face.
FIBERGLASS JACKET WITH STUART BRAY




Use clay on the other side of the wall - small blobs are useful to keep wall in place. Areas around ears will need packing out to allow strips to stay in place.
Trapezium keys to ensure that they do not create any undercuts.
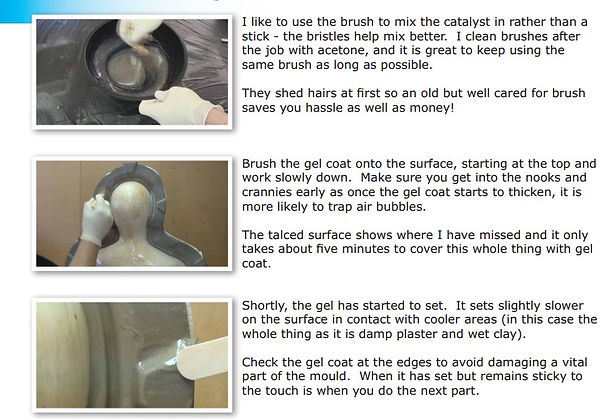
Bray prefers to brush in his gel coat rather than use a mixing stick as the bristles help to mix it better.
Best to use an old brush which has been cleaned with acetone - they will shed less hair. Saves money and problems later on.
Use talc all over so that it becomes visible where there has been no gel coat applied.
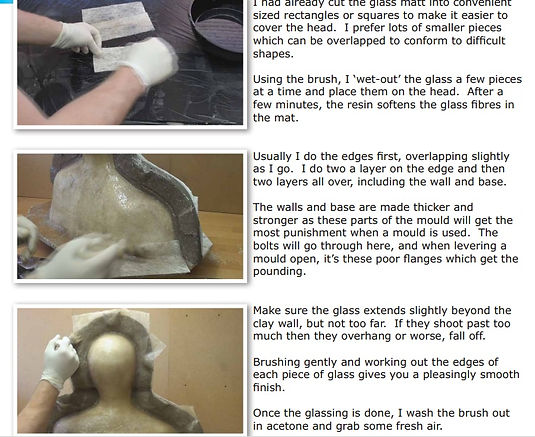
Bray uses cut pieces rather than ripped pieces. He prefers to use smaller shapes that can be overlapped to conform to difficult shapes.
He lays up several pieces of glass at a time and then places them on the head.
He does the edges first, overlapping them slightly. The walls and base are made thicker as they need to be stronger - these areas are the most likely to get damaged.
The glass should extend the wall only slightly as if extend too far then they will overhang or even fall off.
The fiberglass sets in the thickest areas first. It is sometimes possiblet to trim the fiberglass as it has not quite set - this is referred to as the 'green' stage. Green trimming (trimming when fiberglass is still soft enough to cut) can be done using a sharp utility knife.
Make a test incision - if the glass stays in tact and does not turn into mass of fibres - it is ready to be cut. Left too long and it will not cut. Not always possible on bigger moulds.
Green trimming just means that using power tools such as the vibersaw is not necessary.
Although this process is for creating a jacket for silicone, it is a similar process as the fiberglass 2 part mould that I made. I found this tutorial after creating my two part mould which I am annoyed at myself for. I underestimated creating this mould and should have done more research prior to it. If I had found this tutorial previously, I would not have allowed the glass to overshoot the clay as much as I did - it hung over as Stuart described above. This meant I had a messy mould and caused problems later on.