CLARE HEDGES
FIBERGLASSING CORE

I coated my plaster mould with Shellac to seal it - this is because plaster is a porous material and must be sealed before it is fiberglassed into.
I coated the plaster with two coats of shellac, leaving it to dry in between layers.


I used silicone caulk to stick the silicone to the wall of the plaster as it kept falling from the side. I then used polywax all over the visible plaster on both parts of the mould.
I then put a layer of gel coat in each and prepared my fiberglass ready to lay. Previously, I would tear the fiberglass as I went however I found it much easier to work in a more organised way. I used knife cut pieces around the edge and ripped pieces for the middle areas. I found that this was much neater and intend to continue this method in the future.


I then put the two pieces of the fiberglassed mould together and taped them in place using duck tape. I then fiberglassed along the inside of the seam, starting inside at the bottom and working my way upwards.


I found it difficult to de-mould my fiberglass, once the front plaster was off, the silicone peeled off easily. The plaster on the back was really difficult to pull off and some areas of the plaster seemed to be bonded to the fiberglass even though I had applied the shellac. I am still unsure why this happened and will look into this for future reference.
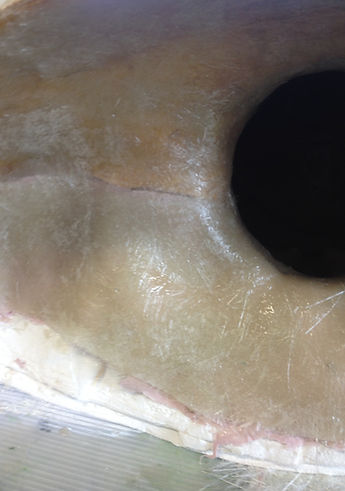
There are some air bubbles in my fiberglass - to avoid this in future I will add a mud layer (which I did not do this time) to ensure that all the deep areas such as the chin and nose are captured and filled. I may need to fill these gaps with car body filler.


I soaked the core in warm water and then used a sanding sponge to try and scrub off the modrock and shellac which had bonded to the fiberglass.
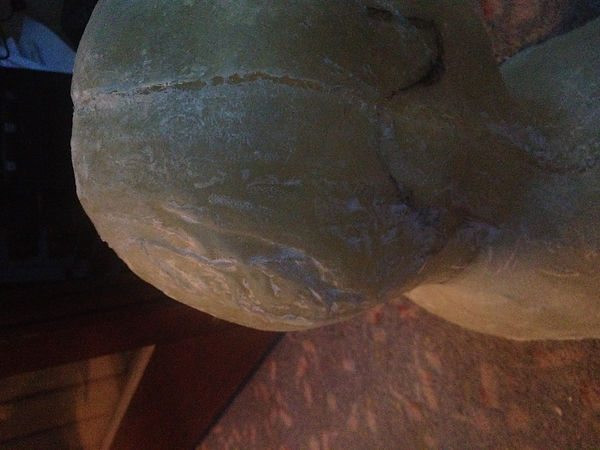
I am unsure what went wrong with the fiberglass on the back of the head as it was really uneven - I wonder whether this was caused by the ill fitting bald cap which may have wrinkled under the plaster bandage. I attempted to sand it out however was concerned that too much sanding would mean that my silicone bald cap piece would not fit. I meant to take my models head measurements however I forgot - this is something I will make sure that I do in future so that I know how much sanding I can do.
I bought some car body filler to fill some of the gaps in the seam as well as the shoulders (where my actor was moving during the life cast and caused a gap). I decided to use this on the back of the head to even it out and create a smooth finish. I am disappointed with how the back of the head originally came out however using the filler has created a nice smooth surface.


I was unsure how to use the car body filler that I had bought and the following article very useful. It told me that a golf size ball amount of filler would require a 'ribbon' of hardener the width across the filler. The article also explained that ventilation was important and that a respirator should be worn inside.
It is important not to 'whip' the filler as this will create air bubbles however this is not as important for what I am using it for, as I will be sanding it down anyway and adding more layers until it is smooth.
The article suggests that cardboard should not be used to mix the filler as chemicals within it may inhibit the filler, however I found that the cardboard was fine to use.


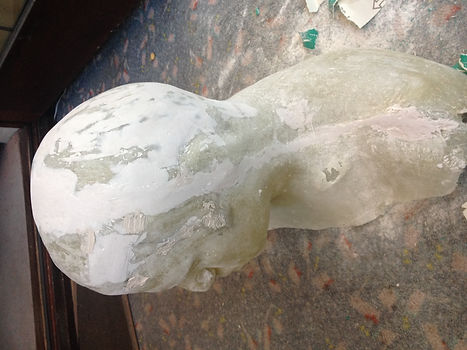
I applied several layers of car body filler, sanding down in between each layer. Both of these photos show the rough car body filler which is a little pink and then the smooth white. It worked really well in creating a smooth surface. In future I will definitely pigment my core as I feel it looks very messy.

FIBREGLASSING 2ND CORE

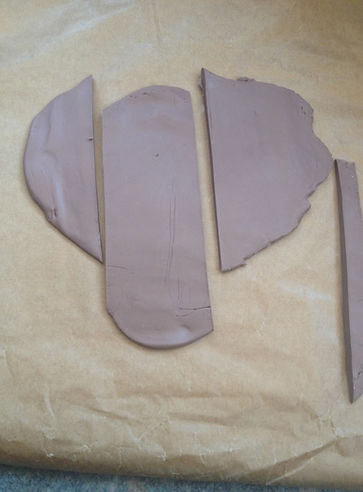
When I did my full head cast, I chose to plaster bandage the back of my model (instead of silicone) as it would save material, particularly as there is no interesting detail that I wanted to capture on the back. This later caused me problems, as I realised I would need a second core for the face piece however I only had a silicone cast of the front and realised there would not be enough space to ground up on. To solve the problem, I built a wall around the silicone using clay and then fibreglassed onto that.
I was aware that time would be short after Easter so I decided to buy the fibreglassing materials so that I could fiberglass at home. This would allow me to start sculpting over the holiday.
I made a big mistake while doing this - I assumed that my scales at home were accurate without checking. This caused me to put too much gel coat and not enough catalyst, which combined with my extra cold garage. meant the gel coat did not go off for 16 hours rather than the usual 20 minutes.


I was really happy with how this core came out, I remembered to put a mud layer in the chin, nose, lips and eyes to ensure that it was completely filled unlike the first core.There was a seam from where I put the clay on the silicone which was unavoidable as I could not get it to sit flush to the piece.
I used car body filler to fill the seem and also filled a small air bubble on the cheek and removed excess fiberglass around the nose and the mouth. I then sanded the eyelashes, eyebrows, beard and around the edge of the core - I was happy with the end result and was then ready to sculpt.