CLARE HEDGES
MAKE UP ARTIST
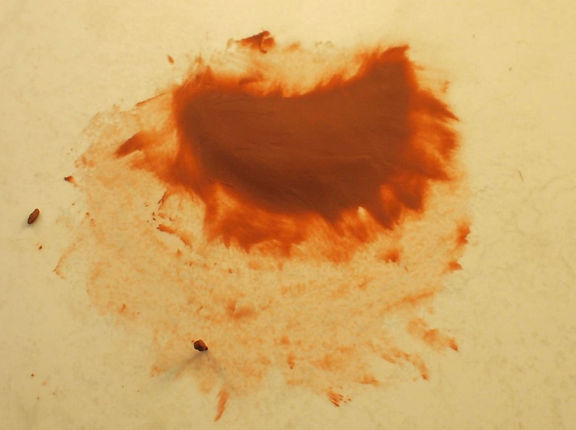


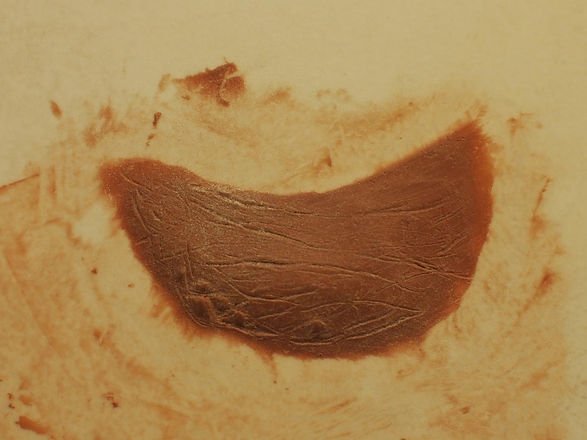
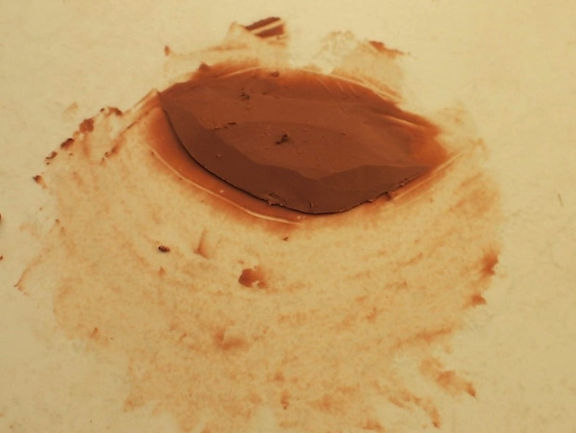
Today we experimented with using Le Beau Touche a sulphur-free, smooth and flexibile plasterline. Sulphur-free clay is used as clay which is sulphur infused will prevent silicone from curing.
I decided to sculpt an eyebag as I was keen to experiment with wrinkles and skin texture.
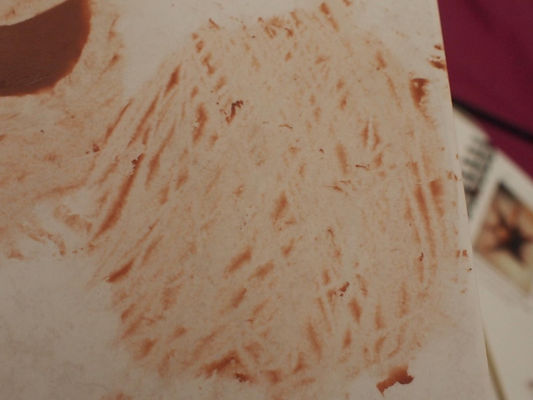
Initially, I used far too much clay which can be seen in this picture from the clay stain left on the tile.
I decided to sculpt an eyebag.
Using my finger, I pushed the edge of the clay into the tile to secure it and to create a thin edge.
I then used my rake tool to create a more even surface. Next, using one of my loop tools, I took away a large amount of clay as the clay had too much height and would have looked unrealistic.
At this point, I was not using a reference picture which was silly as I would be unable to create a realistic eyebag without reference.
Using the reference picture, I soon realised that the eyebag was not the correct shape.
I cleaned up my sculpt and made sure that the edges were thin enough. I was aware however that as it is for the eye area, there should be minimal/no flashing unlike if it was a piece to go on the arm for example.
I then moved on to adding texture to my sculpture. Using a stipling sponge, I lightly stippled over the clay. Looking at this image, I now feel this stippling may have been a little severe. I also used my wrinkle tool to create some of the wrinkles. I used this tool over a layer of cling film for the lighter wrinkles. For the more defined and deeper wrinkles at the bottom, I used a tiny loop tool.
I noted that my reference image had bumpy areas in the skin which I then added to my sculpt which I think look effective and add depth to the sculpt.
I then used IPA to smoothen the surface particularly focusing on the bumps to ensure they were not too heightened. I feel that perhaps they are too high still and may look odd.
Following this, I dusted the clay with talcum powder and dusted off the small excess bobbles of clay. This also helped to see the details and textures more clearly. I was quite happy with the result of my eyebag however I am unsure whether the bumps in the skin do look odd and out of place.
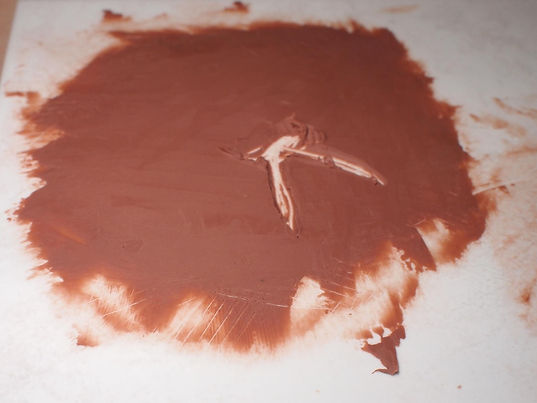
Second Sculpt - Gunshot WoundeSe click me.


GROUNDING UP/FLASHING

I wanted to create a sculpt of a gclose contact star shaped gunshot wound.
For my first attempt, I made the clay far too thin and uneven.
I tried again, however once again made the clay too thin.
I decided it was best to start again.
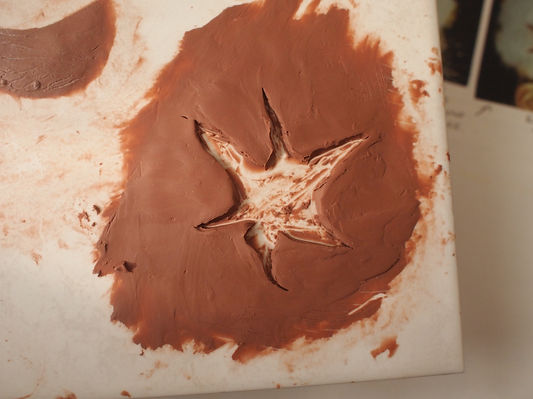
I was much happier with my third attempt however I was aware that the clay was too close to the edge of the tile.
This was unavoidable as I had stupidly placed my first sculpt in the center of the tile. This has taught me to consider the placement of the clay particualrly if I am creating more than one sculpt.
I used my spatular to create the shape of the wound and found this more difficult than I had expected. It took me several attempts to achieve a shape I was happy with.
I then used my rake tool to create a more even and smooth surface.
I also tidied up the edges of my wound as well as smoothing the edges of the clay onto the tile.
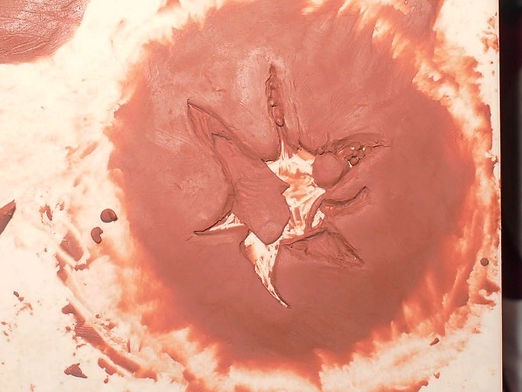
I dug out the inside of the wound using my spatular. I later found this annoying as it was difficult to readd the base. In future I will try and keep the bottom and instead sculpt around the clay rather than initally taking it all out.
I started to add the details which I could see in my reference picture such as pieces of tissue and bone.
I found this took me a long time and I found it quite frustrating however perservered.
I used IPA to disolve the clay slightly, particuarly on the areas of small detail in the wound as I had struggled work into some of the smaller bits.
I used IPA instead of lighter fluid as the small details would have been lost due to the harshness of the lighter fluid.


Pete's example of Grounding up.
Pete used a clay excluder to create the even walls - I think this would be useful to me and I intend to purchase one.
I really like the texture on both of these sculpts particularly the wrinkles on the cut.
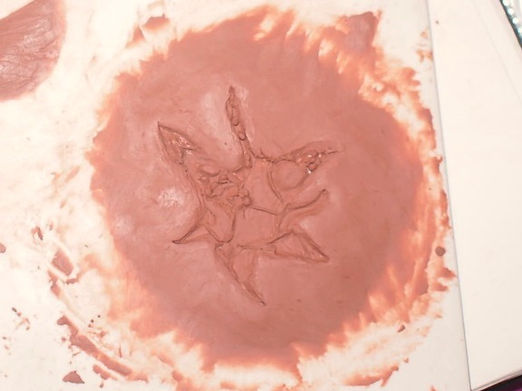
I added texture to my gunshot wound using a stiple sponge and my wrinkle tool. I am not very happy with the effect. I did not use the tool over clingfilm which is recommended, I feel this resulted in lines which are too harsh. Next time I will try this using clingfilm for a more subtle effect.
I stipled lighter fluid around the edge with a sponge to disolve the edges as much as possible to create a smooth and flat edge.
To create our walls, we rolled out 'sausages' and then flattened them with an even thickness all of the way round.
I found trying to create an even and neat wall difficult and time consuming. I feel I spent far too much time creating the wall which highlighted the usefulness of a clay excluder.
I was silly and placed my first sculpt in the middle of the tile. This meant that whereever I placed my next sculpt, it would be too close to the edge. Next time I would consider the space more and ensure that there was enough room for creating my walls.
MOULDING PROCESS

Creating Silicone Moulds -
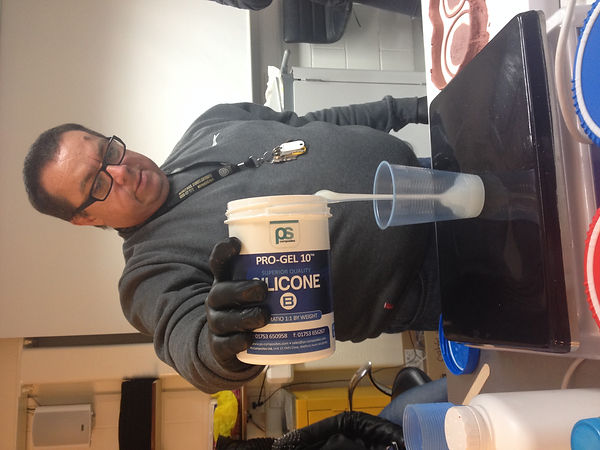
- Equal parts of the Pro Gel 10 A and B must be weighed out on scales.
- Scales must be at 0, a plastic cup is then weighed and 'Tare' pressed. This means that the cup is not included in the weight of the silicone.
- It is important to wipe any split silicone immediately.
- Silicone should be measured slowly - it is crucial that the measurements are accurate or the silicone will not cure. The silicone can be a maximum of 0.5 out however it the closest to equal amount the better.
- Use mixing stick to get all of silicone out of cup and mix thoroughly and get as many bubbles out.
- Once mixed, pour silicone mixture onto the mould from a height. This height stretches air bubbles in the silicone.
- If there is not enough silicone, then you are able to mix up more mixture as silicone only sticks to silicone.
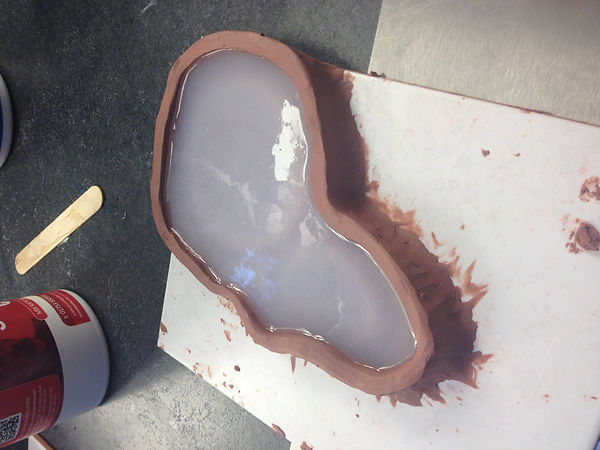
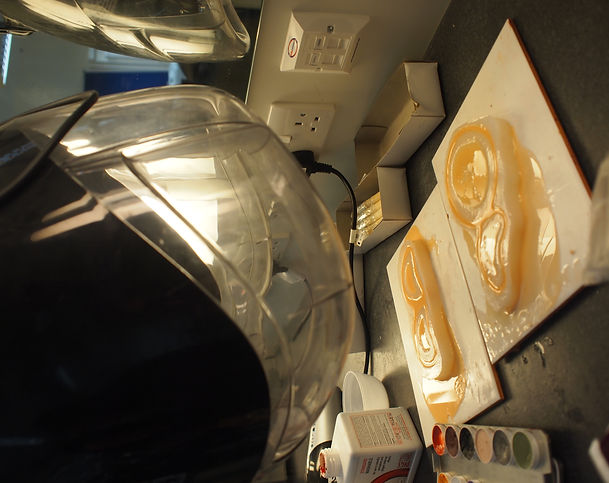
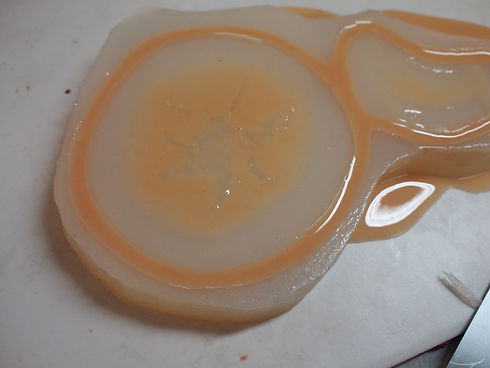
This is my own silicone mould. I found it daunting when initially measuring the amounts and pouring it.
Instead of pouring the silicone onto an area with no sculpt, I accidentally poured the silicone directly onto my piece. This can cause bubbles to form however hopefully this will not happen. I will make sure that I do not pour straight onto my sculpt again.
FILLING THE MOULD




PETE'S DEMO
Begin by cleaning mould with IPA and trim around the edges.
Use vaseline as a release agent in the mould ensuring that all areas are covered including the flashing. Remove excess vaseline by stipling couch roll over mould, do not wipe as this may create streaks.
The silicone is encapsulated using 1 part cap plastic and three parts IPA.Apply the cap plastic once mixed with the alcohol by dribbling it over the mould and then move it around with a brush. This will require 3-4 layers, when drying with a hairdryer ensure it is not too hot as otherwise it will 'cook' the silicone and cause it to bubble.
Softener is used to deaden the silicone, making it less firm so we can move it naturally. The more deadener, the softer the silicone.
E.g 100g of A, 100g of B + 200g of softener = 200%
It is crucial to keep a record of everything and which mixture has been poured. It is also essential that the workspace is kept clean and there is no contamination.
After the layers of cap plastic have dried, using a pin to pull at the edge will show whether the layers are thick enough and whether there are any holes.
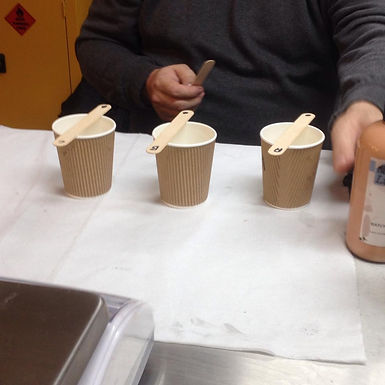
Once components A, B and C have been added to their cup, it is then time to add the pigment and flocking.
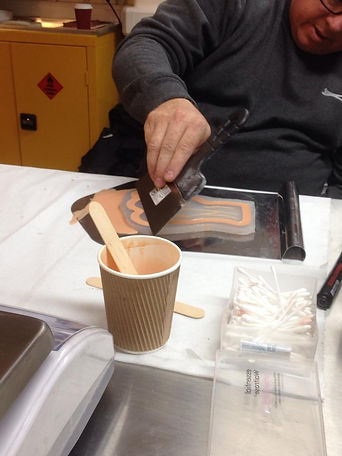
Once components A, B and C are mixed together, they are poured into the flashing channel of the mould and then onto the main sculpt.
This can either be pushed around using a cotton bud or with a scraping tool.
Once the silicone is dry, then two more layers of the cap plastic is added to encapsulate the silicone.
For my first layer of cap plastic I made the mistake of not properly measuring the amounts.
I threw this unmeasured mixture in the bin and remixed with the accurate amounts for the second and third layer.
This was a waste of material and time, in future I will ensure that I am weighing out my materials accurately.
When pigmenting the A, B and C components, we used lollipop sticks and put a black dot at the end to test the transluency. Depending how long it would take for the mixture to reveal the dot, would depend on whether more pigment was required.
The dot should take 3-4 seconds to appear. If it appeared before this, then more pigment was required as the mixture was too translucent.
I used a metal scraper to remove the excess silicone. I scraped over the mould, at an angle first one way and then the opposite direction.
I thought this was very effective and I plan to purchase one of these scrapers.
I found that my silicone took a really long time to dry under the heaters. I had not thought about it until the end of the day however my silicone was drying near the aircon which was probably counter acting the drying process. It did however eventually begin to dry however I was unable to add the final layers of cap plastic which I will need to do at a later date.
Overall, I found the process enjoyable and would be confident in creating flat pieces. I will need to remember in future the importance of accuracy and cleanliness in this process for best results.
SCULPTING TECHNIQUES AND MOULDING PROCESSES
Please scroll down - for some reason I was unable to get rid of this header which shifted my work downwards.